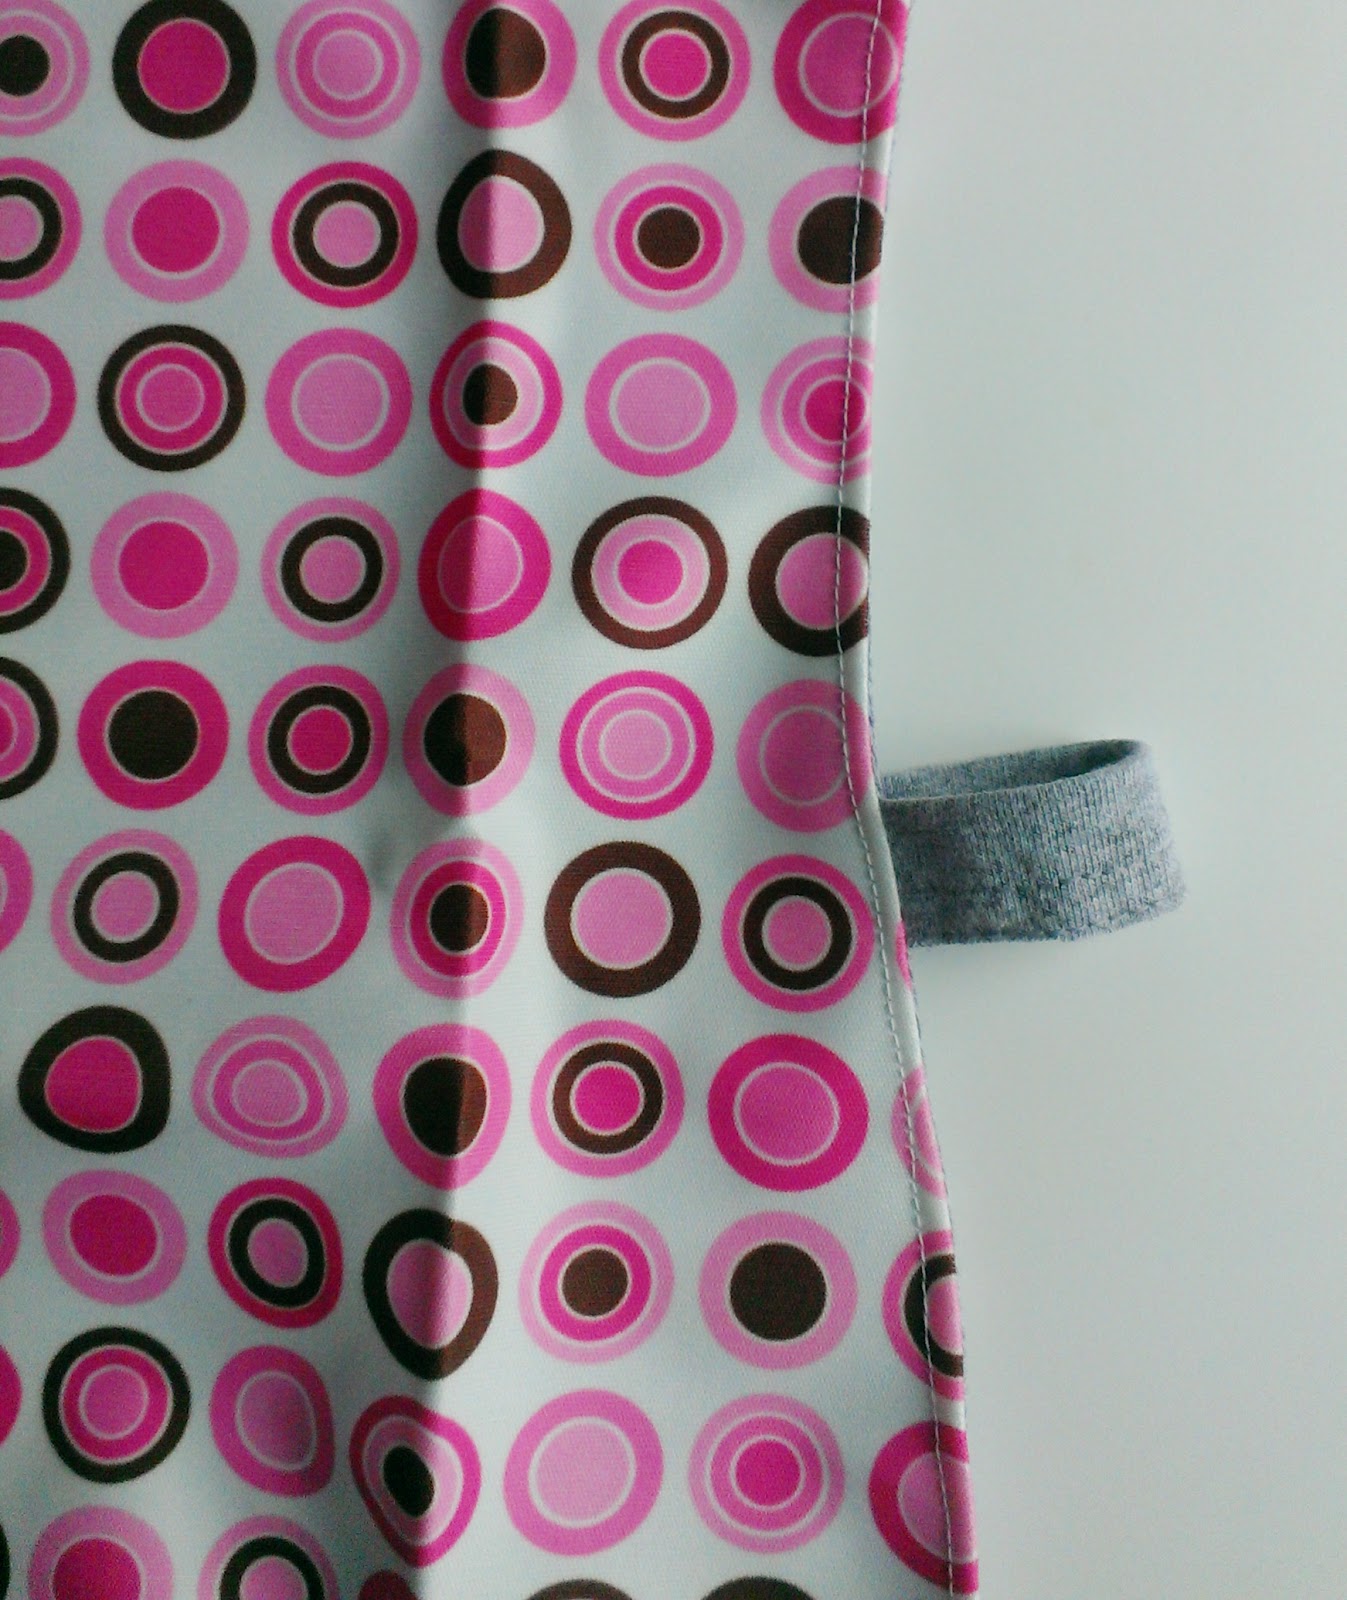
For materials I used leftover scraps of Babyville PUL that I bought at Joann's to make waterproof training pants more than a year ago. I only made 4 pairs so there was a lot left in 3 different prints. I also used a plain men's large t-shirt. I love when I can use stash only to make a project and it costs me ZERO dollars and uses up stuff that had no other purpose.
You can see that the front is bib shaped but the back is only half as long. There are straps connecting the front and back under the arms. I thought that might make it harder for the kids to do independently but the teacher said it was good because they would get more practice at dressing themselves. All that Montessori practical life stuff that is so good.
And then because this was a lot of pink, I made another more boyish one. Again, I was working with what I had and trying not to worry about gender too much because 3 year olds don't worry about that much yet. So the front is an outer layer of PUL with another old t-shirt to line it and for the back.
 |
| Cleveland Browns colors! |
I don't have photos of the process (because I work in my dark, scary basement and don't want to run upstairs every 3 minutes to photograph each step) but I can tell you how I did it.
First, I used a basic cap sleeved t-shirt pattern as a base. I went with Imagine Gnats Tumble Tee but there are other options you may already own. I cut off the bottom of the armscye to blend it into a sloping line down the side. I rounded the corners on the front piece as well. I cut one each from the t-shirt and the PUL.
Second, I used the same pattern piece for the back but shortened it to fall halfway down the back. I cut one of those from the t-shirt using the original hem at the bottom and cutting it about 3/8" wider so I could hem the long sides.
I also trimmed the neck band off the t-shirt and set that aside.
I trimmed two 4" pieces of the bottom hem off the t-shirt to use for the side straps. I made sure not to cut into the hem's stitching so it wouldn't unravel.
Start with the 2 front pieces and place them right sides together. If you use pins you should place them only within the seam allowance so you put as few holes into your PUL as possible. Sandwich your strap pieces between the layers about 8" down from the top making sure that the right side will be showing when turned over. Sew all the way down one side, around the bottom and back up the other side. Trim your seam allowance and turn right side out. You will want to topstitch all the way around now. Use your fingers to roll the t-shirt lining to the back as you go.
Now take your back piece and press under 3/8" on each side. Stitch in place.
Attach the front to the back at the shoulder seams. Finger press the seam allowance toward the back and topstitch in place. Then carefully trim any excess seam allowance off.
Check to see if your neck opening is big enough because the PUL on the front will render the front stretchless. I cut my neck opening just a little bigger, tried it on Elena, and then trimmed a little more in case some of the kids at school have extra large noggins. Measure that opening and then multiply by 80%. Add 1/2" for seam allowance. Take your salvaged neck band and cut it down to the measurement. Open it up to sew the short ends to form a circle. Fold it back in to hide your seam allowance. Divide your neckband and t-shirt into quarters and pin together. You may want to baste the 2 front layers together first to make things easier. Stretch your neckband evenly between the pins and sew with a stretch stitch. Trim the seam allowance. I did not topstitch.
The last thing to do is attach the side straps to the back piece to match the front and you are done. I used a zig zag stitch and went over it few times. Easy as pie. Please just ask if you have any questions. I hope I explained it clearly enough.


Great job and great tutorial. Also very nice that you can do something you love to fulfill service hours. These will be great help and I'm sure the parents will appreciated the lack of paint on their kiddos clothing.
ReplyDeleteWhat fun smocks! I love how you made them and that you used what was on hand. Best way to go!
ReplyDeleteHi Angela!
ReplyDeleteI love your work. I'd like to add your patterns to the Threadle database (https://threadle.net/) so more people can find them. Would it be alright if we use your photos?
Thank you,
Maren Geroux