Showing posts with label waterproof. Show all posts

Wednesday, November 12, 2014

Art Smocks

Elena's preschool teacher noticed that all (well nearly all) of her clothes are handmade and asked me if I sew. She was looking to have someone make some art and water play smocks. And since I can, and since I have to do service hours anyway, I wanted to help. The teacher had a good idea of what she wanted and described it pretty well but didn't have a photo to show me. I looked through Pinterest to get some more ideas, read a few tutorials, and merged a few ideas to come up with this smock.

workpraysew.com

For materials I used leftover scraps of Babyville PUL that I bought at Joann's to make waterproof training pants more than a year ago. I only made 4 pairs so there was a lot left in 3 different prints. I also used a plain men's large t-shirt. I love when I can use stash only to make a project and it costs me ZERO dollars and uses up stuff that had no other purpose.

You can see that the front is bib shaped but the back is only half as long. There are straps connecting the front and back under the arms. I thought that might make it harder for the kids to do independently but the teacher said it was good because they would get more practice at dressing themselves. All that Montessori practical life stuff that is so good.

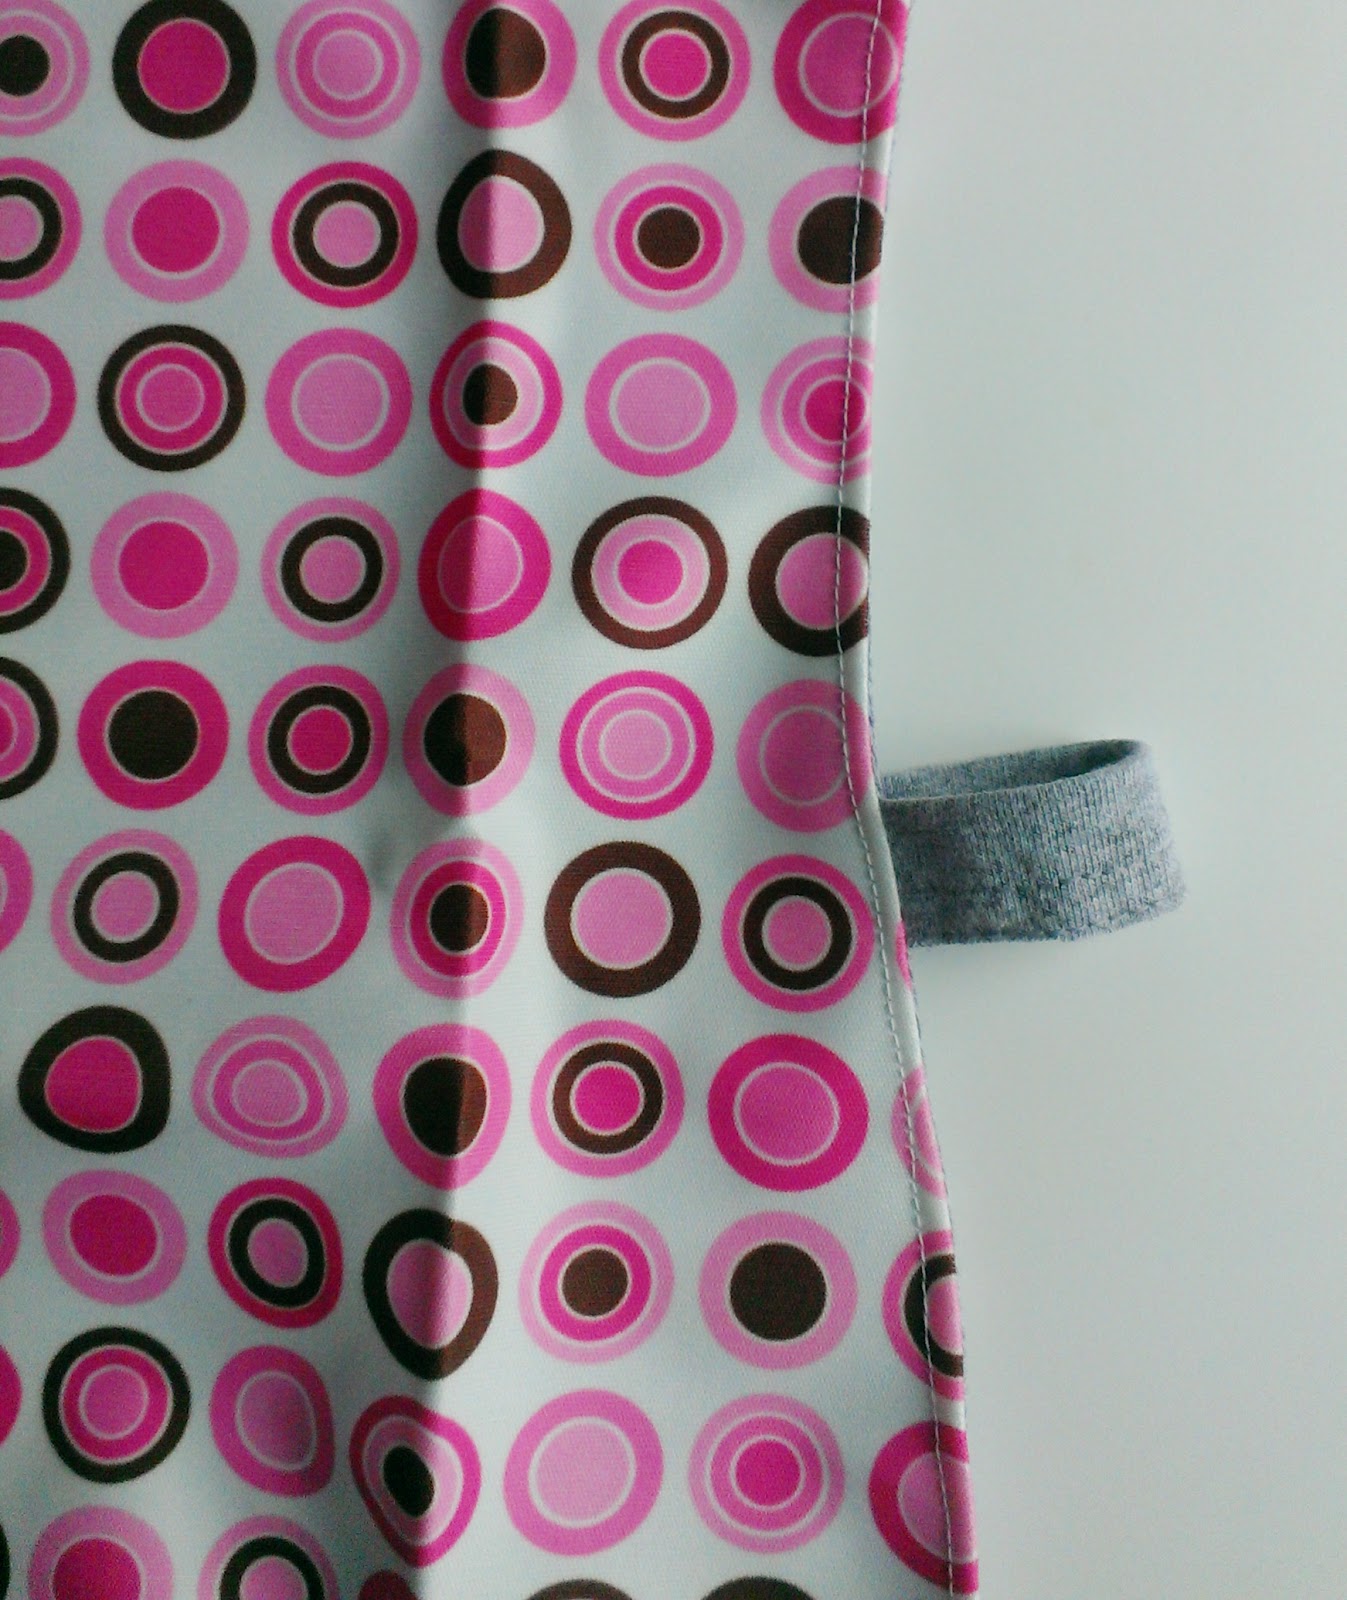
workpraysew.com

workpraysew.com

And then because this was a lot of pink, I made another more boyish one. Again, I was working with what I had and trying not to worry about gender too much because 3 year olds don't worry about that much yet. So the front is an outer layer of PUL with another old t-shirt to line it and for the back.

workpraysew.com
Cleveland Browns colors!
I don't have photos of the process (because I work in my dark, scary basement and don't want to run upstairs every 3 minutes to photograph each step) but I can tell you how I did it.

First, I used a basic cap sleeved t-shirt pattern as a base. I went with Imagine Gnats Tumble Tee but there are other options you may already own. I cut off the bottom of the armscye to blend it into a sloping line down the side. I rounded the corners on the front piece as well. I cut one each from the t-shirt and the PUL. 

Second, I used the same pattern piece for the back but shortened it to fall halfway down the back. I cut one of those from the t-shirt using the original hem at the bottom and cutting it about 3/8" wider so I could hem the long sides.

I also trimmed the neck band off the t-shirt and set that aside.

I trimmed two 4" pieces of the bottom hem off the t-shirt to use for the side straps. I made sure not to cut into the hem's stitching so it wouldn't unravel.

Start with the 2 front pieces and place them right sides together. If you use pins you should place them only within the seam allowance so you put as few holes into your PUL as possible. Sandwich your strap pieces between the layers about 8" down from the top making sure that the right side will be showing when turned over. Sew all the way down one side, around the bottom and back up the other side. Trim your seam allowance and turn right side out. You will want to topstitch all the way around now. Use your fingers to roll the t-shirt lining to the back as you go. 

Now take your back piece and press under 3/8" on each side. Stitch in place.

Attach the front to the back at the shoulder seams. Finger press the seam allowance toward the back and topstitch in place. Then carefully trim any excess seam allowance off. 

Check to see if your neck opening is big enough because the PUL on the front will render the front stretchless. I cut my neck opening just a little bigger, tried it on Elena, and then trimmed a little more in case some of the kids at school have extra large noggins. Measure that opening and then multiply by 80%. Add 1/2" for seam allowance. Take your salvaged neck band and cut it down to the measurement. Open it up to sew the short ends to form a circle. Fold it back in to hide your seam allowance. Divide your neckband and t-shirt into quarters and pin together. You may want to baste the 2 front layers together first to make things easier. Stretch your neckband evenly between the pins and sew with a stretch stitch. Trim the seam allowance. I did not topstitch.

The last thing to do is attach the side straps to the back piece  to match the front and you are done. I used a zig zag stitch and went over it few times. Easy as pie. Please just ask if you have any questions. I hope I explained it clearly enough. 

Thursday, November 7, 2013

Training Pants Free Pattern

     I had some time to figure out how to scan my pattern pieces and make it accessible for you all. Remember, this is a 2T and you'll have to adjust if you need bigger or smaller. Make sure to print with no scaling. There are 3 pages total. Let me know how it goes or upload photos to my Flickr group.

Workpraysew Training Pants Free PDF Pattern in size 2T

Edit on 4/25/14:  Please refer to this post for the tutorial.


training pants by workpraysew.com

Wednesday, November 6, 2013

Totally Cute Training Pants

training pants by workpraysew.com


     The time has come. Elena is 2 years and 4 months -a good time to potty train. We have a relatively slow month before things get crazy around here again. Those teens sure keep us hopping with their sports and hobbies. So now, while we have a chance to hang at home more than usual, is our chance.

     I'm getting some resistance from her so I'm trying to keep it light and positive. The Smarties are purchased except I keep eating them and having to buy more. heehee.  I made her some totally cute training pants. The Dora and princess underpants are ready. We have multiple potties on every level of the house. And the big thing - I put her back in cloth diapers. It took only half a day before she brought me a disposable diaper and said, "Different diaper. Too gross." Sorry kiddo, your mama is hardcore.

     We practiced EC (elimination communication) from the time she was about 3 months until she hit a year and started walking. Then she totally lost interest and just wouldn't do it anymore. It became a power struggle so I let it go. But I experimented back then with making different training pants. I searched the internet and tried a couple different patterns. I tried different fabrics - old tees, micro fleece for the banding, using PUL off of leaky cloth diapers I bought off of Craig's List. Those first 5 pairs taught me a few things and now I'd like to share it with you.

     Good stretchy cotton t-shirts containing some lycra or spandex work great. The absorbent soaker can be made from either old prefold diapers or layers of flannel - old receiving blankets can be repurposed or use the scraps from making pajama pants. It just depends on how thick/absorbent you want them to be. You can add PUL to make them waterproof if you want or not.

     My pattern is a modification of a couple I found online. I drew it out and added the measurements so you can make one for yourself. This fits my 2T daughter nicely. It has room to grow. The leg bands are slightly big on my skinny mini with these dimensions so I used larger seam allownances to take an inch or so out. The waist fits comfy and lose enough for her to be able to do herself.


      I wish I could give you a printable pattern, but it's not hard to draw out on your own. Knit is so forgiving that as long as you make this approximate shape, it'll be good. I'd suggest making one complete pair before you start making them assembly line style. That way you can make any adjustments needed.

Here's how I do it:

1. Make the soaker pad. I cut 3 layers of flannel and stack them and pin them together. Overlock the edges all the way around. Or use a serger if you're blessed with one. I used this super soft monkey print in hopes that she will be inspired to not, uh, get the monkeys wet or dirty.


2. Cut the PUL. I trace each soaker just to make sure it matches.


3. Pin the soaker to your panty piece, wrong sides together. Flip it over and lay the PUL right side up over the right side of the panty and pin. Remove the pins from the other side because you'll be sewing from the top.


4. Using a wide zigzag stitch, attach all 3 layers by sewing around the edges. Use your fingertips to feel that everything is lined up. Afterward, check that you caught all the edges on both sides and go back and add more if necessary.

5. Fold the whole thing in half right sides together to sew the side seams. I use a straight stitch here.
Turn right side out. It's starting to look like a panty.

6. Now for the leg bands. Sew the short sides together, right sides together. Finger press the seam open and fold it down on itself wrong sides together to form the band. Pin the band to the right side of the leg opening. Match the seam to the side seam and stretch to fit the rest in. Sew all the way around with a zigzag stitch so it'll give.

7. The waist band works the same way and requires no elastic. Sew the short sides right sides together. Finger press the seam open and then fold it down on itself wrong sides together. Mark the band and the waist of the panty in quarters and pin the waistband to the right side of the panty. I put the seam in the center back. Sew with a zigzag stitch.

8. Go back and trim down the seams of the leg bands to reduce the amount wicking.

    The "waterproof-ness" is not 100% because the PUL layer doesn't cover the entire panty. You could make them that way, but I don't find it necessary. My goal is to reduce the amount of wetness to my furniture and also to her clothes. This way works well for me. Babyville recommends throwing the sewn products in a hot dryer for 20 minutes to shrink the holes made by the needle.

     You could also put that PUL layer between the soaker and the panty piece if you prefer. They make such cute fabrics that I wanted mine to show and then you get the bonus of having the tee do some absorbing as well.


     Elena was not in the mood for a photo shoot so this is the best I could manage for photos wearing them. It's not good at all.